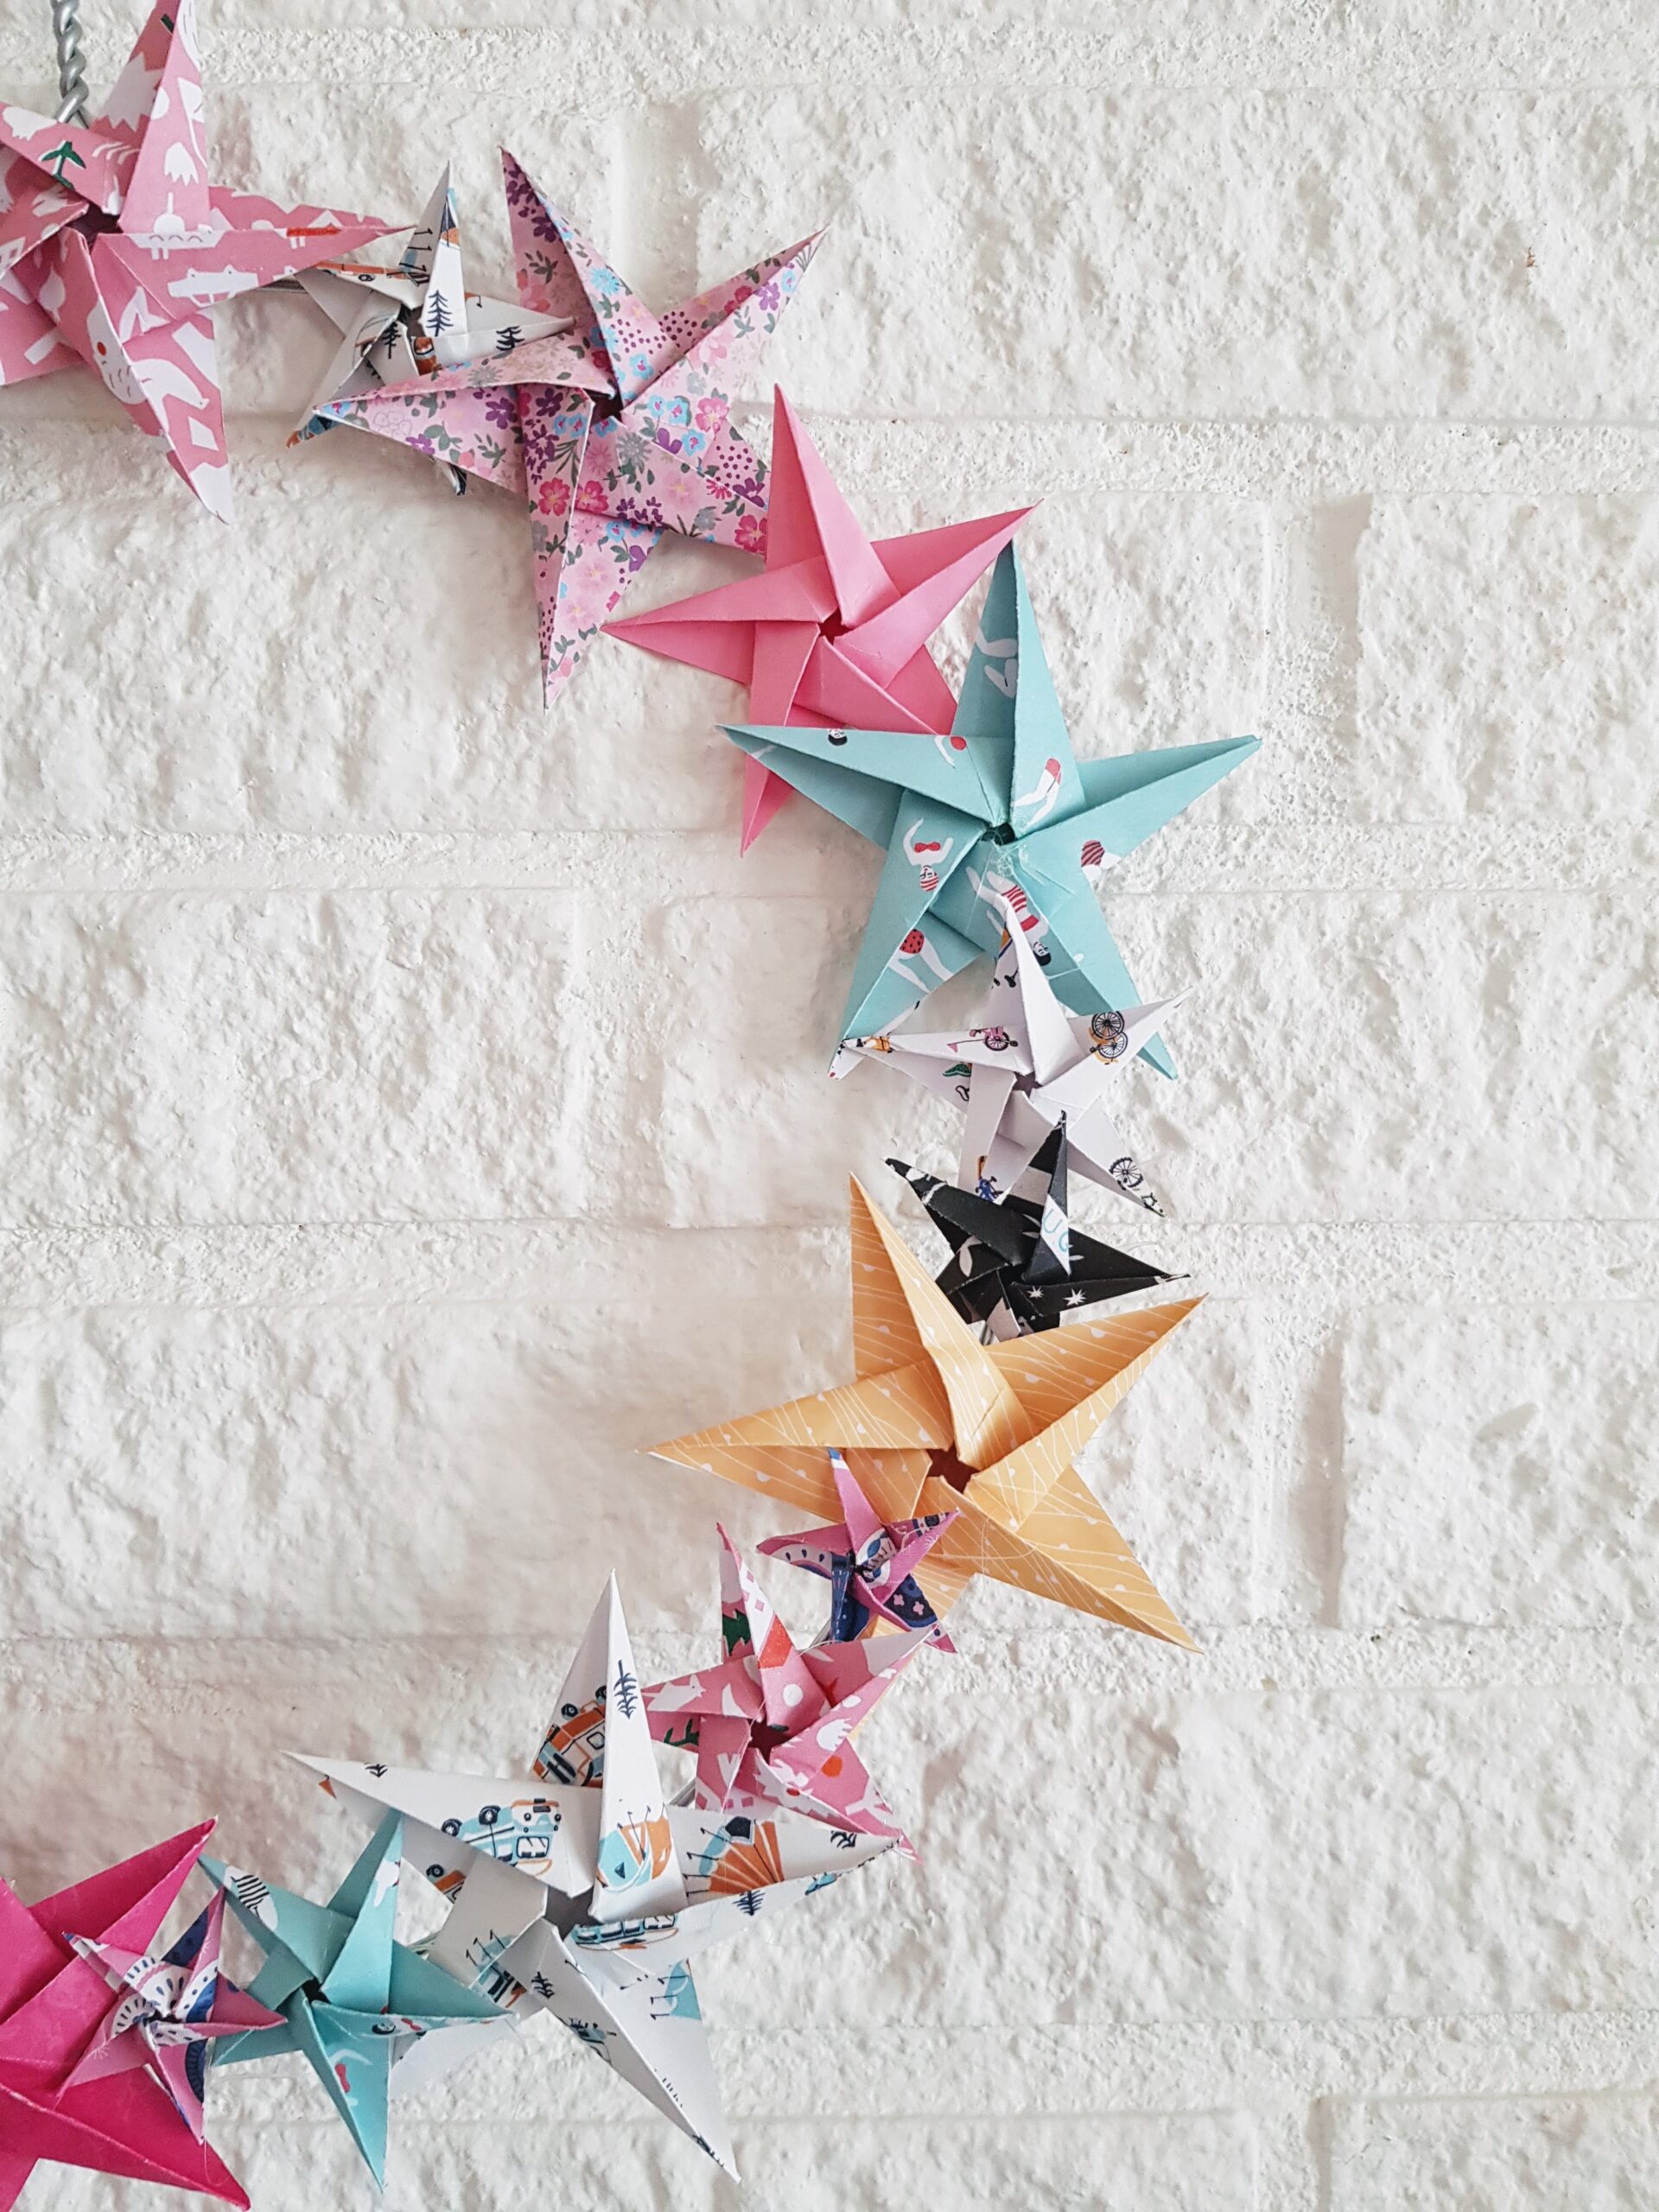
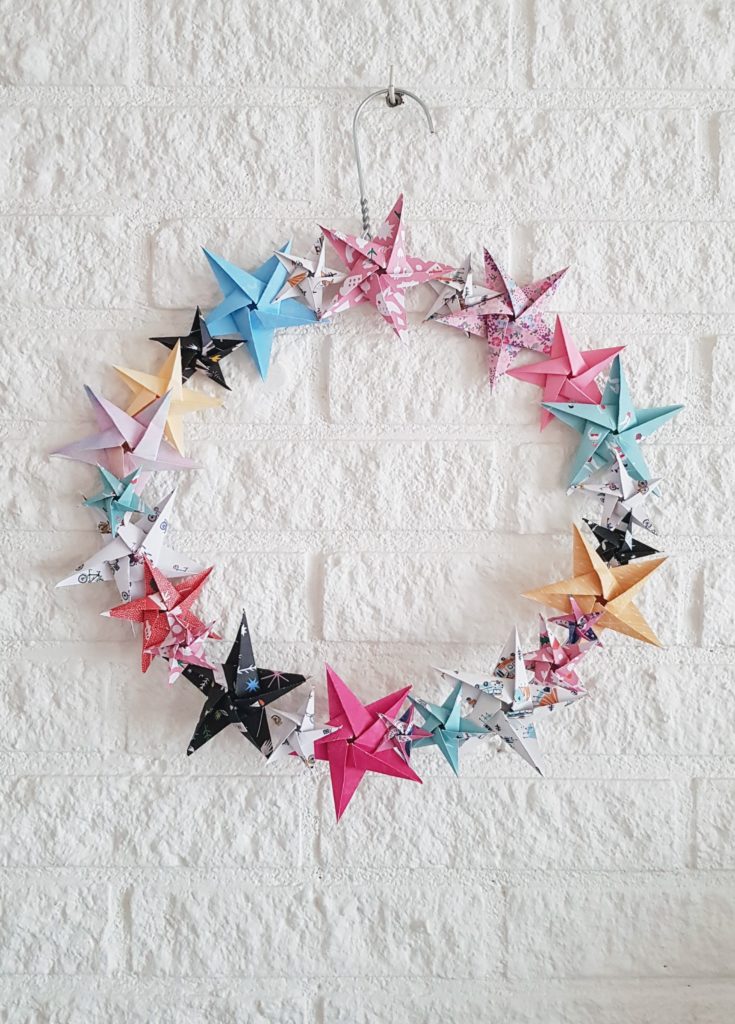
These origami star are perfect to make your wrapped presents more festive or to make a cake topper just by adding a skewer with some glue. I glued my stars on a hoop to make a wall hanger. I made different sizes and glued them with hot glue on the wire. There are so many uses for these origami stars.
How to fold a star? First you need to fold a pentagon…..
start with a square piece of paper
fold it in half, fold the left upper corner down to the middle and crease only the middle of the fold. Then you fold the left lower corner to the middle and also crease the middle. No you created a middle where you can fold the right lower corner too. Fold the left lower corner up to create a triangle and then you turn your paper around.
[easy-image-collage id=3388]
[easy-image-collage id=3389]
Fold the left side towards the right side to get a triangle as shown on the picture. Cut the upper away as you can see on the picture.
[easy-image-collage id=3391]
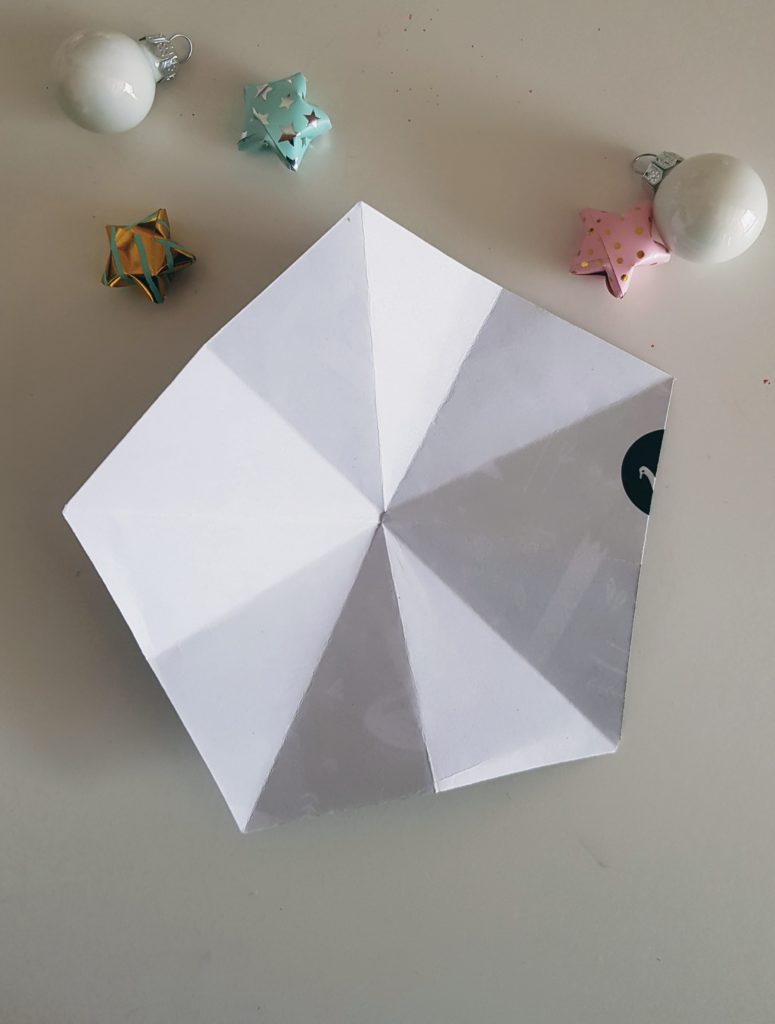
Now you’ve created a pentagon and from here you can fold a star.
How to fold the star.
Fold all the straight edges up till the two corners reach the creases (see picture). When you done that you get something like the 2nd picture. Then you fold one edge to the left and one up. Make sure that the corner of those two will pop out and crease this. Do this all the way around.
[easy-image-collage id=3392]
You’re pentagon should look like the 2nd picture. Now fold all the points towards each other and slowly move the points clock wise and the pentagon should fold into the star (see picture 4).
[easy-image-collage id=3393]
Turn the star around and then fold the inner corners to the middle and you then should get the finished star.
[easy-image-collage id=3394]
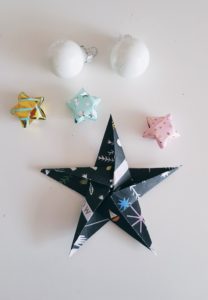
The end result should look like this
I created a hoop out of a coat hanger and glued the stars with hot glue onto the wire. It creates a cute little wall hanger that you can leave on the wall even way after Xmas.
I hope the instructions are clear, if not……please contact me and I’ll try to change my instructions.
Love, Elisabeth
